Overview
I had a class to learn SolidWorks, and the goal for the semester was to create a working fidget spinner. I could have been done in a week, but I wanted to something non-traditional and funny. From this experience, I learned of the importance of tolerance testing your material and precision testing your instrumenets, list a history of changes, and how to make a good spinner that is rotationally balanced.
Design & Process
It started with an STL model I pulled from the internet. From there I was able to splice it in Solidworks, and make necessary changes.
I had a clear goal for how I wanted it to function:
- Spin Longer than 5 seconds
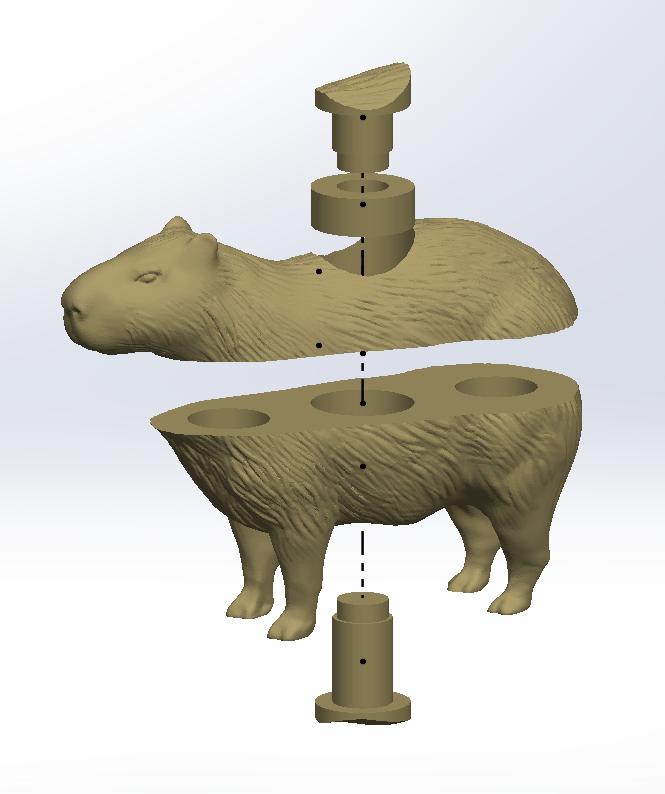
- Have 2 pieces that snap together and remain flushed using magnets
- Fit a ball-bearing that would remain invisible
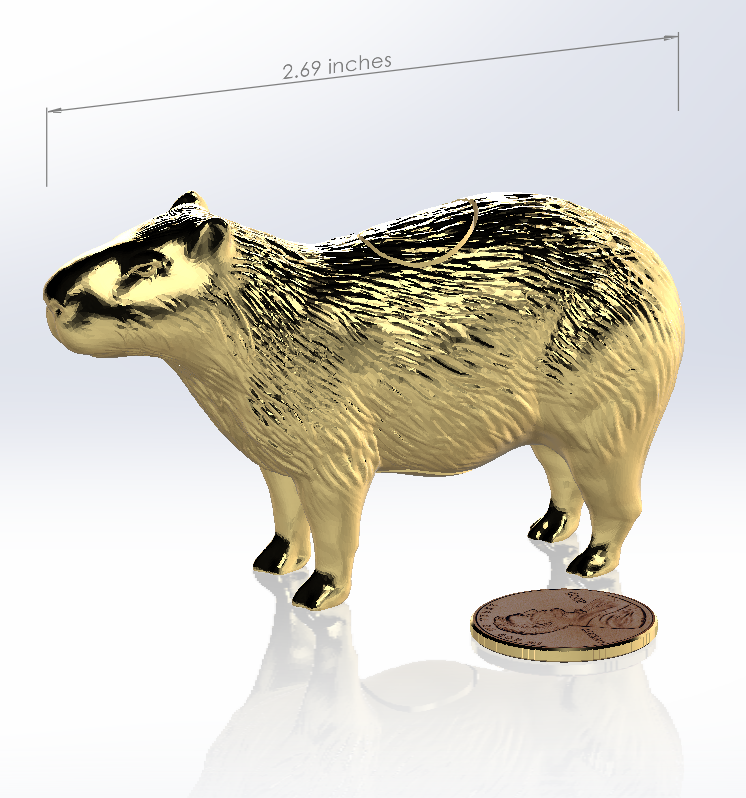
- Have great detail and smoothness to the 3D printed model
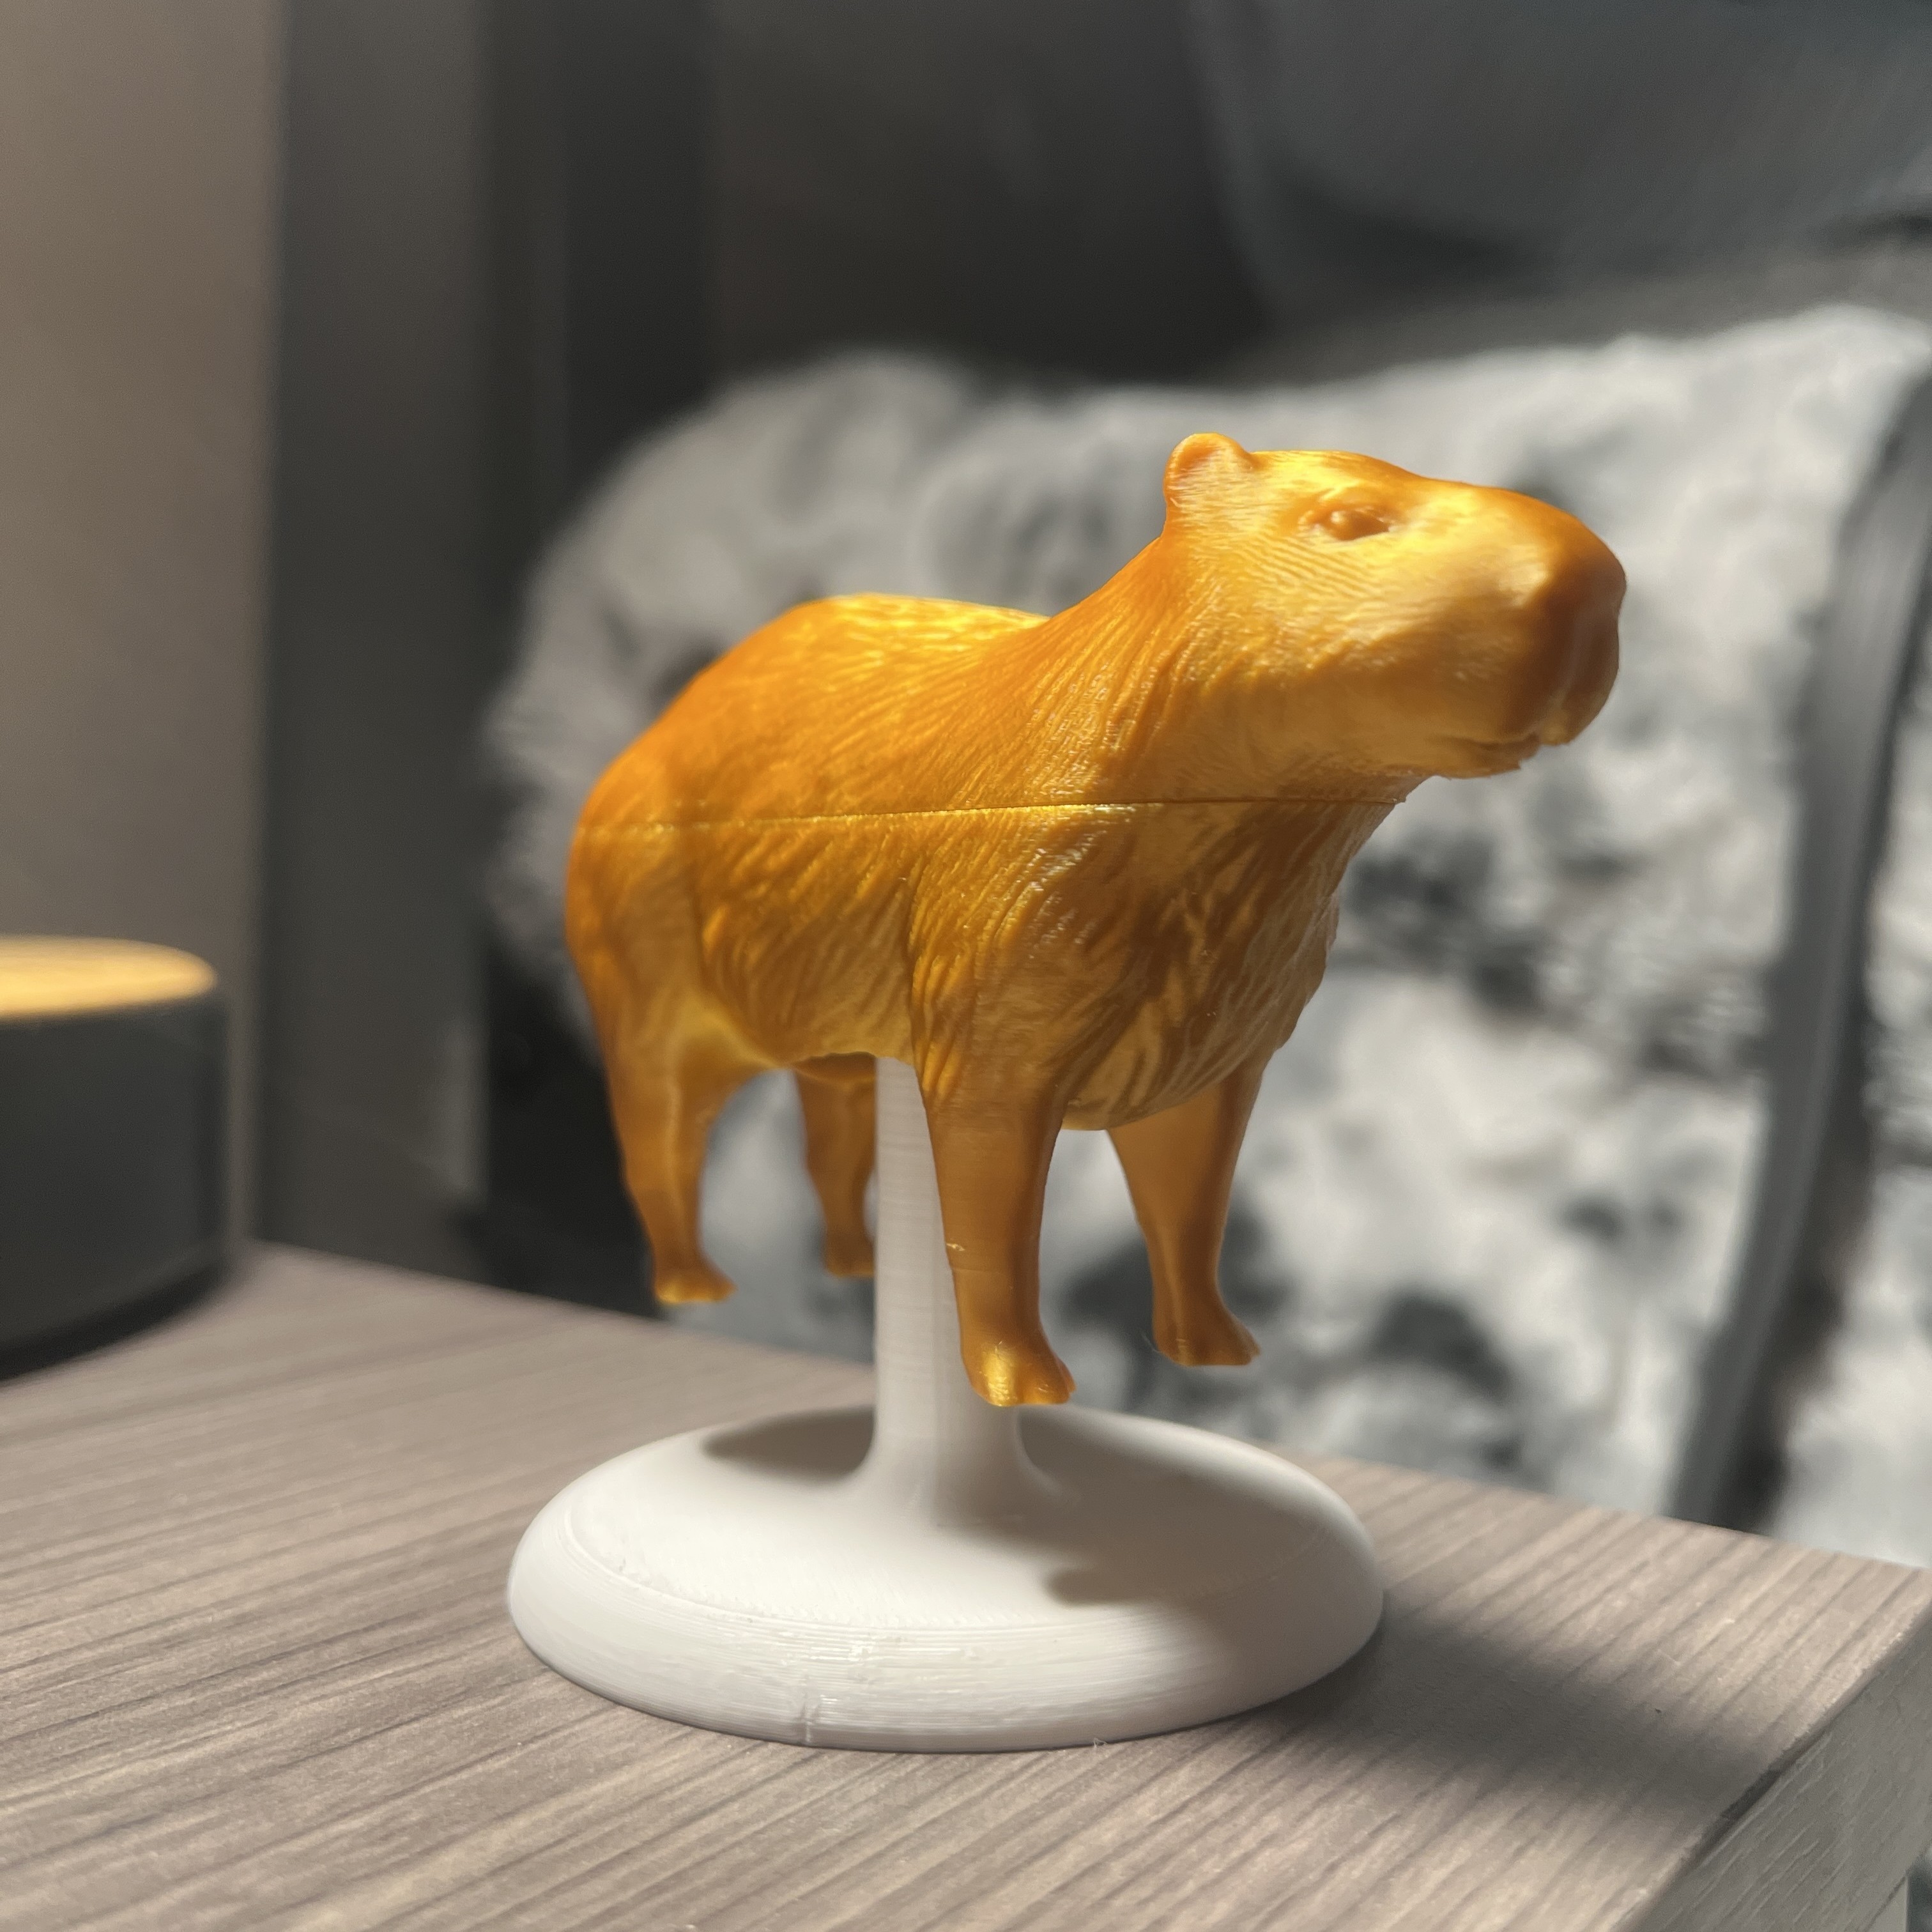
- Use PETG due to strength and compliance
Results & Reflection
Overall, I iterated through about 4 versions and 5 prints. Changes included resizing the caps so they remain concentric with the hole in the body,
resizing hole diameters in the body to be 0.15 mm larger than magnets and ball bearing to achieve a tight fit. Also practicing with
the slicing software and specific printer, which I found out to have a bias of +0.2mm. Because of this case, I had to dimension holes smaller but also
compensate for tolerancing to get a reasonable fit. Additionally, getting the printer to have a near perfect print as sometimes the print would warp. This
was an easy fix thanks to reddit, by simply lowering or turning off cooling, the entire print was able to cool off slower and prevented thermal warping
from the heat gradient.
The magnets were simple cylindrical, neodymium magnets from Amazon. The ball bearing was upgraded from a cheap capped stainless steel ball-bearing,
to a hybrid ceramic-steel ball bearing. This greatly reduced friction and helped it spin 30 seconds longer. I also did not use any oils or lubricant as it showed
produce more friction. It is not important in this case anyways as it is not nearly fast enough or producing enough load to cause physical wear or heat.
I used SolidWorks to edit the model, Bambu Studio to slice it, and the Bambu Lab P1P to print the model.